連載の最終回となる今回は、
アプリケーションの内容
今回作成するアプリケーションは、
- Goelocation APIに対応したブラウザでトップページを開いていると、
測位された位置が変わるごとにサーバへ緯度経度をPOSTし、 Geohashに変換してGoogle App Engineのデータストアに保存する。 - 履歴ページ
(/history) へアクセスすると、 地図を表示し、 それまでに記録されている位置を線でつないで地図上に表示する。
今回必要となる技術要素は以下のようになります。
- トップページ:
- Google Maps JavaScript APIを利用した地図の表示
- JavaScriptによる位置情報の取得
- サーバ上での緯度経度からGeohashへの変換
- Google App Engineでのデータの保存
- 履歴ページ:
- Google Maps JavaScript APIを利用した地図の表示
- Google Maps JavaScript APIを利用した地図上へのPolylineの描画
- JavaScriptでのGeohashから緯度経度への変換
アプリケーションを使ってみよう
これらの条件で作成したアプリケーションを以下のURLで公開しているので、

アクセスすると、
スマートフォンで見たとき:

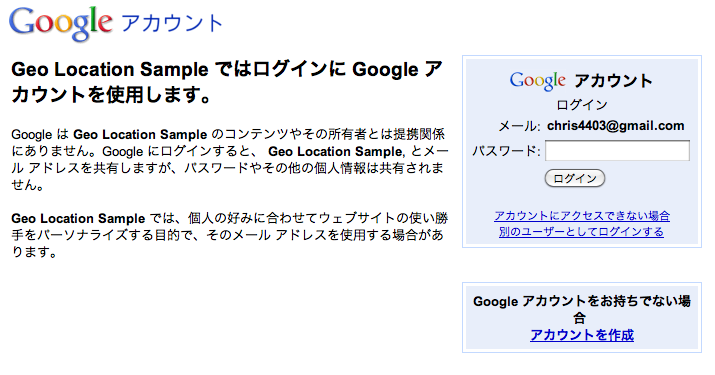
ログインすると、画面いっぱいに地図が表示され、ブラウザが位置情報の取得を許可する旨のアラートを表示するので、
スマートフォンで見たとき:
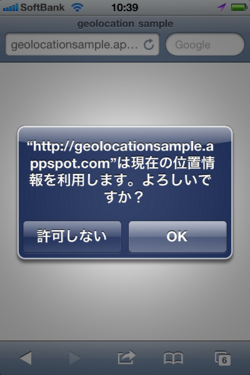
その後、
ある程度時間が経ったら、

記録されている位置が、
PCで見たとき:
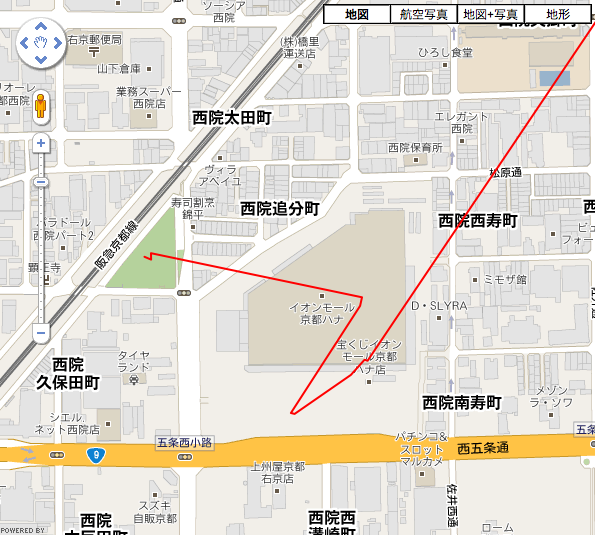
位置情報サービスと言いながら、
Google App Engineをセットアップ
まずは、
Pythonのインストールと、
サンプルアプリケーションをローカルで動かす
先ほどアクセスしてもらったサイトのコードをgithubで公開しているので、
git clone後、
git clone [email protected]:chris4403/geolocationsample.git
dev_appserver.py geolocationsample
サーバーが起動したら、
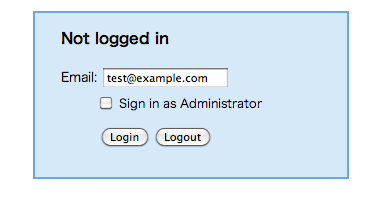
サンプルコードの構成
サンプルアプリケーションは、
geolocationsample
├static : staticフォルダ。jsやcss、imageなどを保存する。
├templates : Pythonアプリケーションのhtmlのテンプレートファイルを保存する。
├README : READMEファイル。
├app.yaml : デプロイ用の設定ファイル。
├geohasy.py : http://pypi.python.org/pypi/Geohash/ からダウンロードしたGeohashのライブラリ。
├index.yaml : GAEのデータストアの検索indexを設定するファイル。
├main.py : アプリケーションのハンドラ。
└model.py : アプリケーションのモデルクラスを記述するファイル。
自分のGoogle App Engineにデプロイしてみる
Google App Engineのサイトを作成し、
Google App Engineの管理コンソールにアクセスして、
appcfg.py update (Application Identifer)
サンプルコードの解説
ここからは、
main.py(トップページ部分)
main.
application = webapp.WSGIApplication(
                                    [('/', MainPage),
                                     ('/history', HistoryPage),
                                     ('/geohash', GeohashPage)],
                                    debug=True)
トップページへのアクセスはMainPage Classが、
まず、
class MainPage(webapp.RequestHandler):
 def get(self):
   user = users.get_current_user()
   if user == None:
     self.redirect(users.create_login_url(self.request.uri))
   template_values = {
     'method' : 'get',
   }
   self.response.out.write(template.render('templates/index.html', template_values))
users.
最後に、
続いて、
 def post(self):
   user = users.get_current_user()
   if user == None:
     self.response.out.write()
   else :
     lat = float(self.request.get('lat'))
     lon = float(self.request.get('lon'))
     hash = geohash.encode(lat,lon)
     point = Point()
     point.geohash = hash
     point.owner   = users.get_current_user()
     point.put()
     template_values = {
       'method' : 'post',
     }
     self.response.headers['Content-Type'] = 'application/json'
     self.response.out.write('{result:"OK", geohash:"' + hash + '"}')
こちらも、
ログインしていたら、
templates/wrapper.html
HTMLテンプレートの共通部分をwrapper.
templates/index.html
wrapper.
<meta name="viewport" content="initial-scale=1.0, user-scalable=no" />viewportを指定することで、
google.load("maps","3", {"other_params":"sensor=true"});Google のAPIを利用して、
 var success = function (position) {
   if (position.coords.accuracy > 100) return;
   var lat = position.coords.latitude;
   var lon = position.coords.longitude;
   var latlng = new google.maps.LatLng(lat, lon);
   map.setCenter(latlng);
   var marker = new google.maps.Marker({
       position: latlng,
       map: map
   });
   $.ajax({
     type: "POST",
     url: "/",
     data: "lat=" + lat + "&lon=" + lon,
     success: function(msg){
        var data = eval('(' + msg + ')');
     }
   });
   google.maps.event.addListener(marker, 'click', function() {
     map.setZoom(8);
   });
 }
位置情報を取得した際に実行される関数を定義しています。
if (position.
取得した位置情報をもとに、
main.py(履歴ページ部分)
続いて、 ログインチェック後、 JavaScriptでGeohashを利用するライブラリを読み込んでいます。 テンプレートに渡されたPointオブジェクトの配列をループで回して、 JavaScript上で、 LatLngBoundsオブジェクトを生成し、 Polylineオブジェクトを作成して、 記録されているのが1点だけの場合は、 本連載では、 位置情報サービスはまだまだこれからの領域だと思います。おもしろいアイデアを思いつかれた方は、class HistoryPage(webapp.templates/
<script type="text/javascript" charset="utf-8" src="/static/js/geohash.js"></script> var geohashes = [{% for point in points %}'',{% endfor %}]; var pathPoints = [];
for (var i = 0, len = geohashes.length ; i < len ; i++) {
var geohash = geohashes[i];
if (geohash && geohash.length) {
var data = decodeGeoHash(geohash);
var latlng = new google.maps.LatLng(data.latitude[2], data.longitude[2]);
pathPoints.push(latlng);
}
} // Mapを適切な範囲にfit
var bounds = new google.maps.LatLngBounds(pathPoints[0],pathPoints[1]);
for (var i = 2 , len = pathPoints.length ; i < len ; i++) {
bounds.extend(pathPoints[i]);
}
map.fitBounds(bounds); // Pathを描画
var path = new google.maps.Polyline({
path: pathPoints,
strokeColor: "#FF0000",
strokeOpacity: 1.0,
strokeWeight: 2
});
path.setMap(map); } else if (pathPoints.length == 1) {
map.setCenter(pathPoints[0]);
new google.maps.Marker({
position : pathPoints[0],
map: map
});
}最後に


